Here are a few links that you may want to check out before getting started. I currently use Photoshop Elements 3.0 and a few actions to do most of my editing. I will be using these actions for this LO but will edit another one without the actions. There are a ton of different ways to get the same result so it is just personal preference.
Mindy's Photoshop Actions
Actions for Elements
Curves Plug In
My current work flow time from start to finish, (this includes taking the photo and uploading it), is about 10 minutes. Honestly it's a lot of work but in the end, it really is the difference between your LO being considered over an equally designed LO with poor presentation.
STEP ONE: So the first thing I do is take 2-3 photos of my LO's in natural light. I generally use my landscape mode on my camera to get everything in focus and turn off my flash.
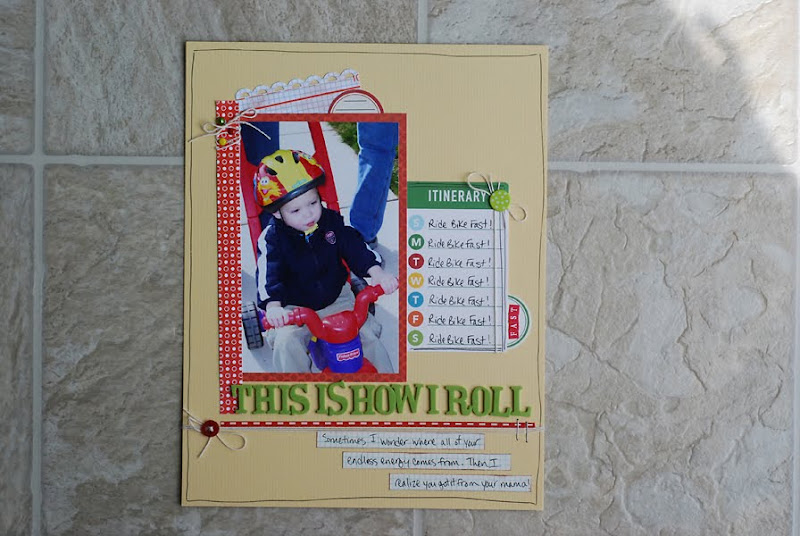
STEP TWO I generally pick the best of the photos to work with. I choose whichever photo is in better focus, and requires the least amount of effort to make it straight.
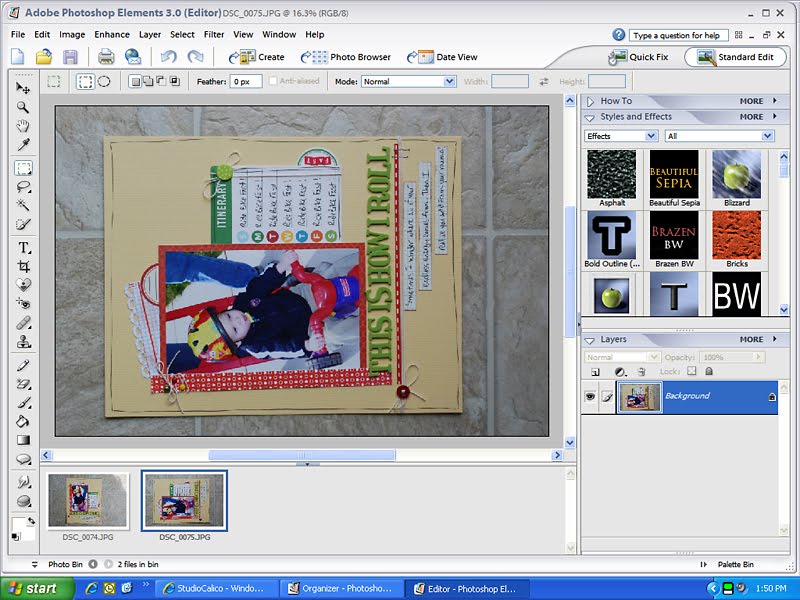
STEP THREE: At this point I check to see if I need to rotate my image at all. I use the rectangular marquee tool to check. I then use Custom settings, located under Image, to rotate the image .1 or .2 if needed. At this point I am not looking for it to be perfect but close enough that when I crop it, I won't loose too much of the LO to make it straight.
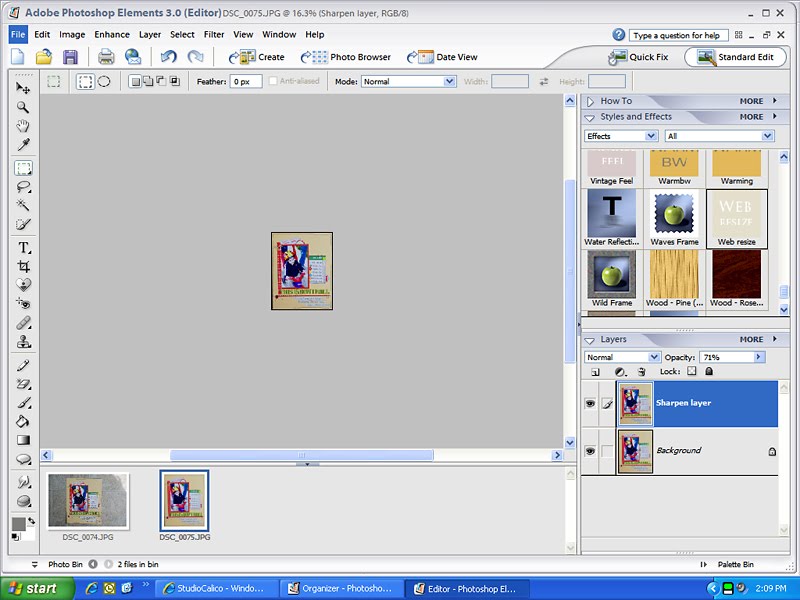
STEP FOUR: I use my Curves Plug In to improve the lighting on the LO. I generally run an Auto Layer to improve midtones. Sometimes it helps a little, and sometimes a lot. It depends on how well the lighting for image was in the first place.
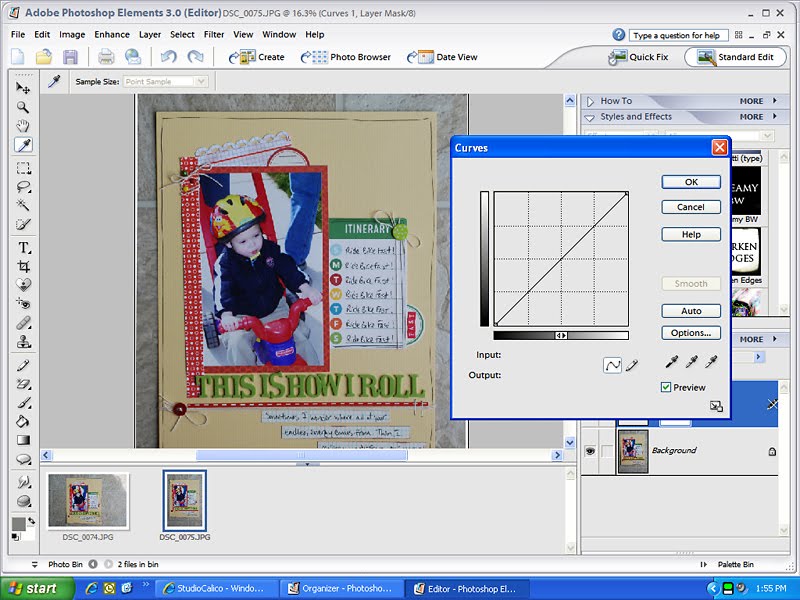
STEP FIVE: A very small difference with this LO.
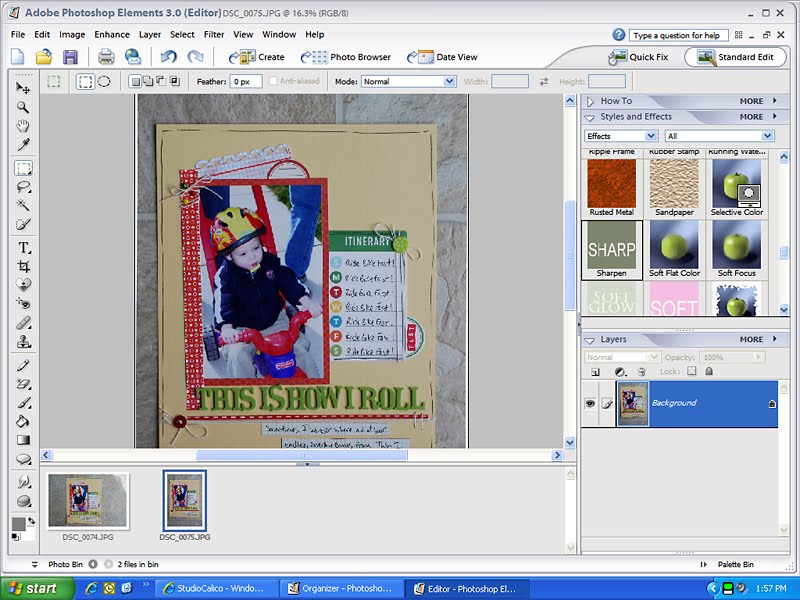
STEP SIX: I then usually use my Sharpen Action here mostly because it flattens the layers for me and it's under my Curves Plug In.

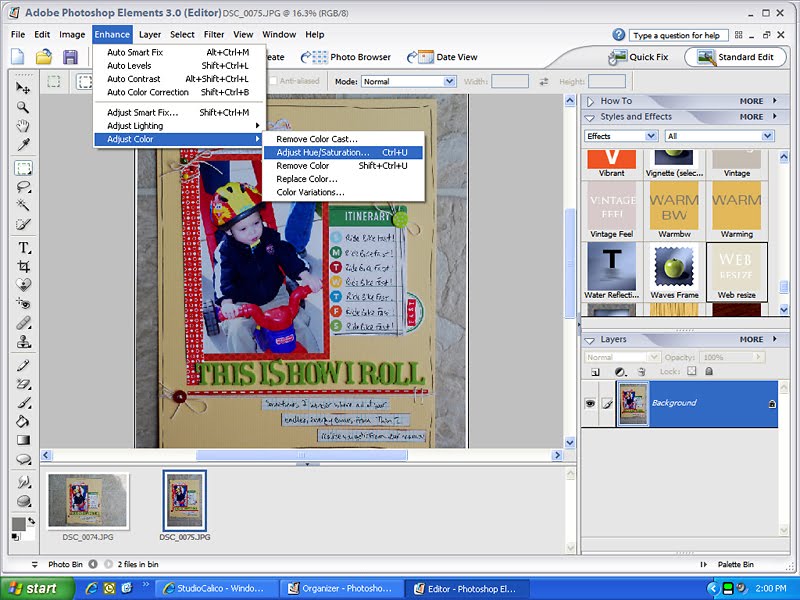
STEP SEVEN: This is the point that I try to adjust the color so that it looks as close to the original LO as possible. One way to do this is to use the Adjust Color then Adjust Hue Saturation Feature. Sometimes I use this and other times I will use my Warming Action. They are essentially the same thing.
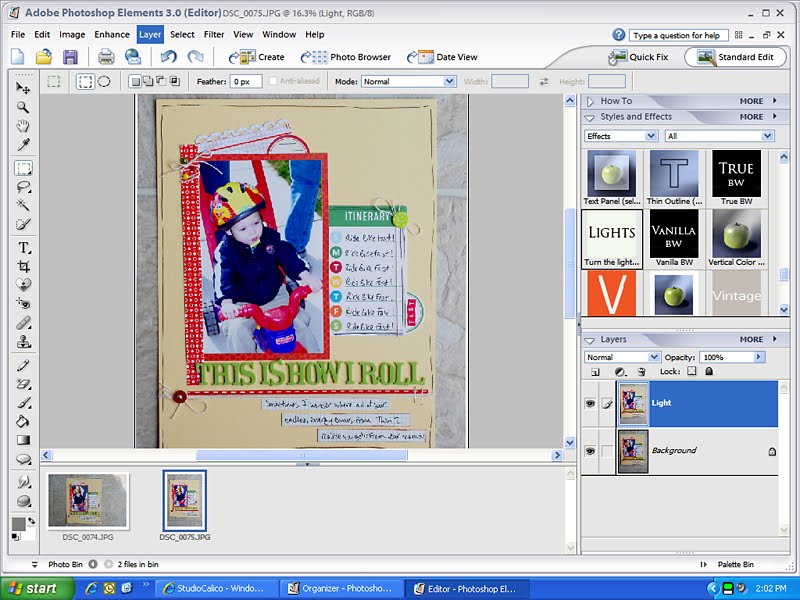
STEP EIGHT: Usually when I adjust my saturation over the entire LO I need to lighten it. Again I use an action for this but the same thing can be accomplished in Levels. This fixed what increasing the saturation did for the reds in my LO and pulled out the skin issues that the Warming Action created. However, overall the image is too light and this is where the "art" of using actions comes in. I changed the opacity on this layer to about 73%. I used the slider to do this until it just "felt right."
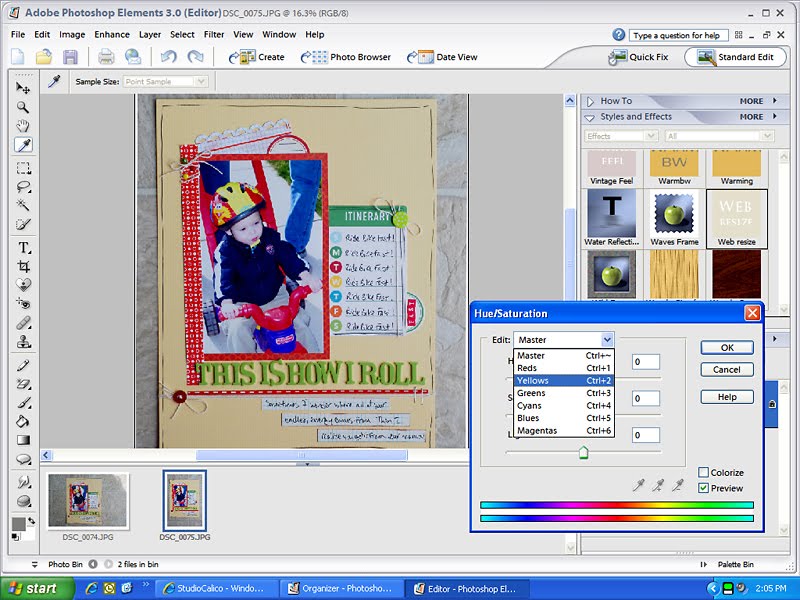
STEP NINE: Again, now I need to "fix" the lightening adjustment a little more by increasing the saturation of my background. I went to Adjust Color, then Adjust Hue Saturation. For this step I only selected Yellows so I could warm up my background.
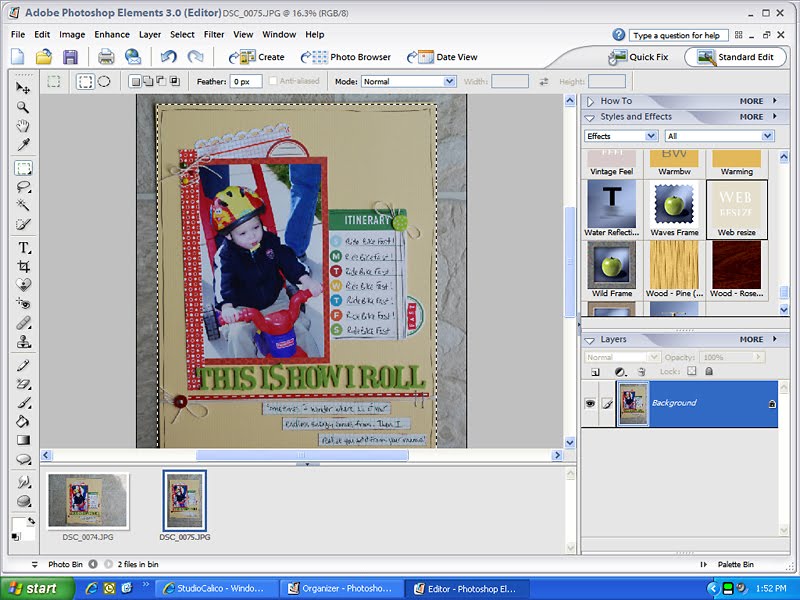
STEP TEN: Now that the LO I took a photo of now looks like the LO that I made, I crop it. I use the Rectangular Marquee tool since it is the most forgiving since I rarely get the LO completely straight. If I am a little off I will try to find part of the LO that I won't miss and just try to make up the difference. I then use a Resize for Web Action. This is important because when you post LO's on the web they loose some detail. Actions that are designed for this purpose include an extra sharpening step.
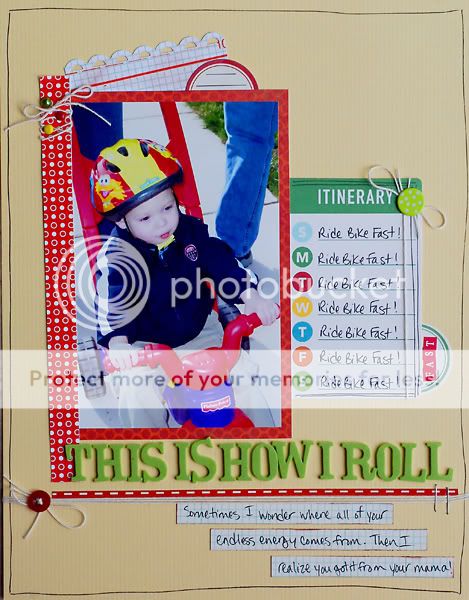
And here's the finished product. I have been using my photobucket account to upload LO's since I enjoy the larger size and then I don't have to deal with image compression issues with blogger.
I hope this post was helpful and if you have any questions, please let me know. I'll do my best to answer them!


2 comments:
Thanks for posting this!
BTW love your blog, and your pages!
i went through some of your old blog posts too, and i was just wondering what you store your thickers in? where did you get it?
Thanks
Megan
Kristin - thanks so much for sharing this! It is very informative - I really appreciate you taking the time to point it out to me. Thanks again - Scrappinpsycho!
Post a Comment